oh my God
today I’m gonna be showing you how I mixed Hertz Drums
in this demo
if you’d like to see the full mix breakdown
where I go into the guitar tone
bass tone lead tone
mix bus compression and all that good stuff
that’ll be available on my Patreon
I’m also gonna
be doing a composition breakdown of this song
so that should be out in the next week or two
gonna go into how I wrote everything
how I wrote the guitar riffs
how I program the drums how I program the bass
I’ll leave the link in the description for that
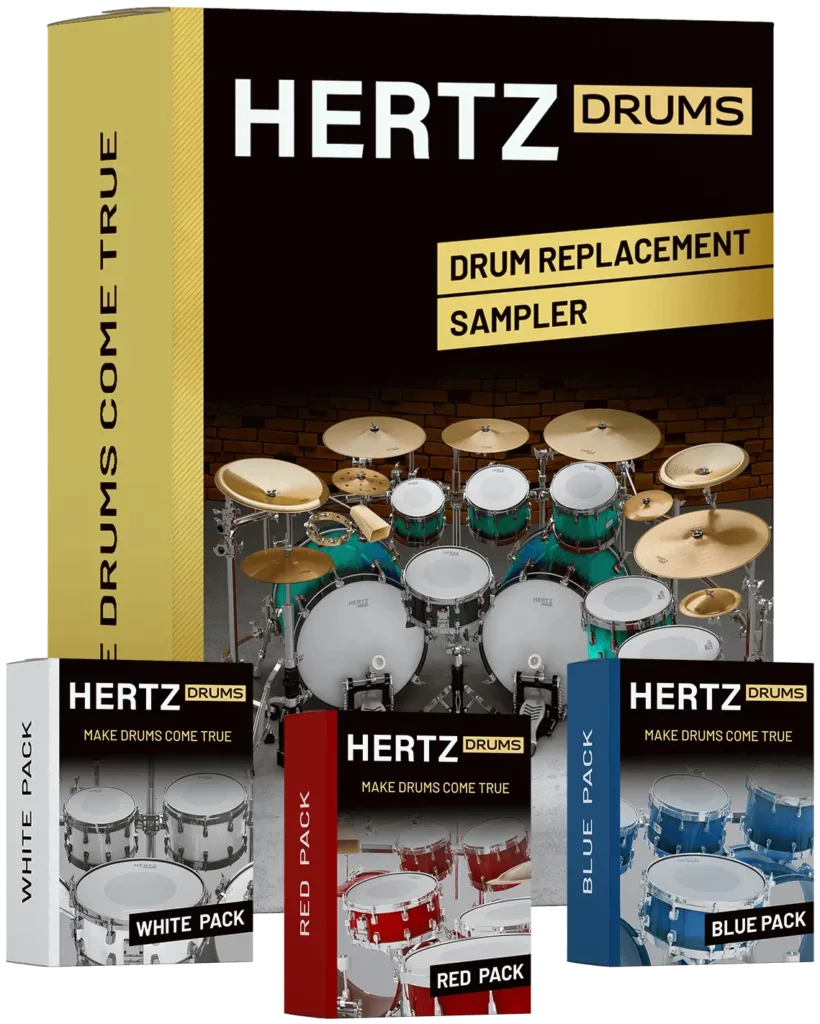
so let’s get into it the guys that Hertz Drums were kind enough to send me their drum software
for me to test out and
I was actually blown away with the quality of these
there are Super Mix ready
so I didn’t have to do too much processing at all
so this is how the drum sound out of the box
I’m using the rock preset from the white pack
let’s see how that sounds
so right off the bat everything sounds great
the only thing I really wanted to do
is just beef up the shells
a bit so they’re a bit more punchy
so now compare that with my finished drum sound
so that sounds great I really love this kit
so the first thing I wanted to do is multi output
these drums into my da so how I did that
was I went up to this routing button that
and then as you can see
we have all the mics here later at the bottom
we can slide through
now what I did is I took the di signal from the kick
put that to one the snare I put to three Tom 4
so I just basically went through chronologically
give them all their separate output
so on Q base if we just have an instrument track
we can hit this little drop down here
and now you can see all of our tracks
so we got the kick
the second ones and all I didn’t use the second output
this one right to three
so we got snare on 3 Tom Hive all the times
and then we got the hat ride crashes
and then we got the overhead ambient Mike’s
and the reverb and multi outputting the drums
like this just gives us a lot more control
so now I can kind of go in to the kick
and put whatever plugins I want on it
so let’s bring up the kick first
turn off all my processing
right so here’s what the raw kick sounds like
now there’s one change I did inside the drum program
and that’s the little envelope section down here
what I did is I set the curve to fast fade out here
and then I put this to all
and then what I’m doing is changing the envelope shape
so
so originally the envelope is set something like this
what I did is
I took the decay and brought it all the way down
and then I’m bringing it to like
300 in and about there
what that does is gets rid of all that decay
as you can hear it’s much longer
it’s a lot tighter with that filter on
and I think that’s the only drum I did this on
the rest of the drums died out pretty quick
which is cool to me
so now let’s get in this kick processing
first up I got at Pro Q3
it’s pretty common move I like to do
I’m just dipping out the low mids 10 DB quite a bit
so it’s just really emphasizing that 60 hertz region
instead of the low mids like the 101
50 region
and then I’m adding a tiny bit of attack around 5K
and then dipping out with a low shelf around 1:30
just to get rid of a bit of that sub
it’s a bit too subby now let’s move on to this
proceed to just doing some compression on the kick
aiming for about 3D B I got the attack around 30
to really emphasize that transient release
around 1:20 and yeah
just kind of bringing the threshold down ratio of 4
and I’m aiming for 3D B
so it’s making that front end sack
come through a bit louder
next I got a C four
this was specifically to tame the double kicks
in this section
this was specifically to tame the kick drums
in this section
so what this is is just a multiband compressor
I have the lowband set from zero to like 120
and then we have the release set at 500
so what this means is
when there’s a lot of low end buildup
it’ll just duck that whole band down
and it won’t have time to release
because the release is really slow
so you’ll see
it’ll just kind of dip down the base just for that
the double base section
so that really helps the mix
not become too sobby
when there’s a lot of double kicks
next we got a JST clip I’m just clipping it up 60B
and I think I’m trimming it back down a little bit
yeah minus 3.8 on the trim
just get more volume in a bit of saturation
and then lastly
we just have a game plug in from Killer Hearts
just thought it was a bit too loud
just turn it down a little bit
that’s our final kick close mic
next we got the snare
first up I wanna add a bit of attack to this
so I put on a proceed to
doing basically the exact same settings as the kick
30 millisecond attack 120 millisecond release
and we’re aiming for about like 60 b
the ratio at 4
so that’s just adding a bit of punch to it
next we got the Pro Q3 I’m doing a bit of a high boost
now it had quite a bit of fundamental already
so I didn’t even touch that
lastly we got a JST clip
I’m just clipping it up
same kind of philosophy is the kick
adding a bit of saturation beefing up the snare bit
now it’s me one of the Toms
all the close Mike Toms I didn’t touch
I just routed them to a Toms bus down here
and then on that bus we just got some EQ to start
so I’ll find a Tom section
so here
I’m kind of doing a similar thing with the kicks
where I’m cutting some of those low mids
above the fundamental so that’s at 300
and then we got a little dip
there’s a kind of plastic key
there’s a kind of plastic key attack around 2 thousand
that’s kind of stuff so I’m just ducking that out to
cleans it up quite a bit and then
this low frequency kind of build up was bothering me
bits I threw on a Pro m B
and now I’m doing a cool thing with this
I have it in expand mode so when the Tom initially hits
it boosts the so when the time initially hits
it boosts the low end only for an instance
so you’ll see that in action
so that low end is dipped before and after the hit
but it comes in right when the Tom hits
this is without and with really cleans it up
all right that’s all I did for Tom’s
as you can see it’s just really minimal processing
I’m not even doing external reverb or anything
I’m using the in house reverb they supply now with hat
I’ve nothing on ride we just got a bit of EQ
taking out some low end the crashes
for the crashes
I’m just starting off with a low cut around 2:11 there
next we got a high shelf
so I like to use this pull tech emulation made by waves
usually set the high frequency around 10 or 12
and then I’m just boosting about 40B
so just adding a bit of brightness
next I have soothe this
really helps tame the resonant frequencies
in the symbols so this is exactly what I’m cutting out
so the sharpness all the way up
and the selectivity all the way up
and the depth around 1 and I’m on soft mode
next we got the overheads
so similar kind of processing
low cut around 1:50
there’s a lot of kick in this overhead mic
which I kind of like
it’s really in phase with the close my kick
so it adds a nice character
next we got the poltex I’m doing similar thing
I’m boosting 40B at 10 k you’re here without
setting a subtle bit of brightness
next we got the L1
I’m just kind of chopping off some of the peaks
so you hear if I bypass this
that snare will come through a lot louder
but I want most of the punch coming from the snare
close mic
so I’m aiming to kind of reduce it with this plug in
next we got the room mics
starting off here with a low cut around 2:50
and then same thing we have a pull Tech
40B at 10K to brighten everything up
and then here with the reverb
this reverb sounds great
this is the in house reverb they have
and we can control that for each drum with this fader
right here it’s on the kick
I reduced it quite a bit on the snare
I have a pretty cranked here
so it works as an XY slider
so if you go up on the X
that be more reverb and it be farther to the right
and if you go up on the y
then you’re adding in more room
so this would be the lowest
and this would be the highest up here
so if we listen to this reverb
Mike’s it’s mostly the snare coming through
and then moving on to our drum bus
I have the townhouse compressor
I have it set to a ratio of 4 attack of point three
a release of point one
and then we’re just aiming for about like only a d
B or 2 one that kick and snare hit
so that’s just adding a subtle bit of glue
and punch to the drums
and that covers the final drum sound for the mix
so let’s hear that one more time solo
and that covers how I mix these drums
if you’d like to see how I mix the entire song
so all the guitars and bass and leads
then you can find that over on my Patreon
where I do a full
extensive mix walk through of this whole project
with that being said I hope you guys enjoyed this video
be sure to like comment
and subscribe if you wanna see more videos like these
and be sure to pick up a copy of Hertz Drums
they’re doing a 40% off sale on their website right now
so I definitely recommend picking those up
see you guys next time
Subscribe to our newsletter to stay updated with the latest news from Hertz Instruments and enjoy a 10% discount on all products!