Looking for an exciting new drum VSTi that offers unparalleled versatility, customizability, and functionality? Look no further than Hertz Drums! This innovative instrument packs a massive amount of features into a user-friendly layout that’s easy to learn and use.
But that’s not all – Hertz Drums VSTi also offers a range of expansion packs that let you build your drum library and explore new sonic possibilities. And if you’re a fan of heavy metal, you won’t want to miss the newly released METAL UNLIMITED RAW Pack, which adds even more shells, mics, and options to your arsenal.
We recently got our hands on Hertz Drums VSTi and were blown away by what it can do. Thanks to its intuitive design and powerful features, we were able to create incredible drum tracks with ease. And with a 14-day free trial, there’s no reason not to give it a try for yourself!
So why wait? Head over to https://hertzinstruments.com and pick up your copy of Hertz Drums today! Your drum tracks will never be the same.
hey everyone this time on Tim talks
audio we’re checking out a drum VST this
is Hertz drums so Hertz drums is a newer
VST instrument of exactly like it sounds
it’s a drum kit but it’s not just this
standard drum kit there is a lot of
functionality going on inside this VST
instrument every single shell has been
meticulously captured with multiple
microphones in multiple positions with
multiple different rooms and there’s all
kinds of grooves going on there’s a lot
of flexibility and with Hertz drums they
have different drum packs which are
different shells with different heads
and different microphones so there’s an
immense amount of Versatility inside
this one drum VST and it doesn’t stop
there they didn’t just change the
microphones for all of the different
shells they did it for the overheads and
the symbol mics as well and the room
mics so there’s a ton going on within
just this one drum plug-in if you just
wanted the drum sounds and then it has
grooves you can pull in built-in grooves
into your session and even extract the
midi to put right into your session and
have it trigger the drum instrument when
it needs to inside your session there’s
two things I need to say before we dive
into the Daw the first is that Hertz
instruments sent me this plugin to check
out for you guys so you can think of
this video like it’s partially sponsored
they sent the plugin over but all of the
opinions within this video are my own
second is when we dive into the Daw I am
going to go away unfortunately I had a
failure in my recording setup and this
video capture just failed it happens
sometimes but I recorded this new intro
and all of the information you’re about
to see in the rest of the video still
stands true now let’s go ahead and check
out Hertz Drums by diving into the Daw
okay so here it is by default this is
gonna be sort of what it looks like
there’s a few minor things that I’ve
done in preparations for this video but
this is what you’re gonna see when you
open up Hertz drums you’ll see obviously
the user interface in the top showing
you the amount of drums and symbols that
are available Within These kits as well
as the mixer with multiple channels so
that you can do all of your individual
symbols and overheads Rooms reverbs
Direct shells things like that and be
able to go into different groups like
your kicks as you can see there’s
multiple kick drums snares Toms etc etc
so this is the mixer view we’re not
limited to just one set of shells or
just one kit so here’s where things get
really ridiculous and allow you to fine
tune whatever you need for your
Productions so I’m going to start with
the right Kick Drum
there it is that’s how it sounds on its
own when we load up I have this preset
rock metal I just pulled in one of the
presets so this is the kick drum that
we’re going to get this is cool I like
the sound of it but I wish it was
recorded with a different microphone
sure when you’re looking in this view
you can come up to the top and you can
see that there are three different
microphone selections available a b and
c and as we click through we just heard
a now let’s go to B this is the same
drum with a different microphone
and now see
so you can hear there’s lots of
variation between just these three
different microphones on the one shell
now imagine being able to do this across
all of the shells because you can by
holding shift on your keyboard if you
change any one of these
the entire kit will now shift to the
other selection of microphones per shell
or per symbol different selections and
different microphones were used during
the capturing of these kits for all
these samples and now I say all of these
kits because it’s not just one depending
on what you get because there’s lots of
options available with the different
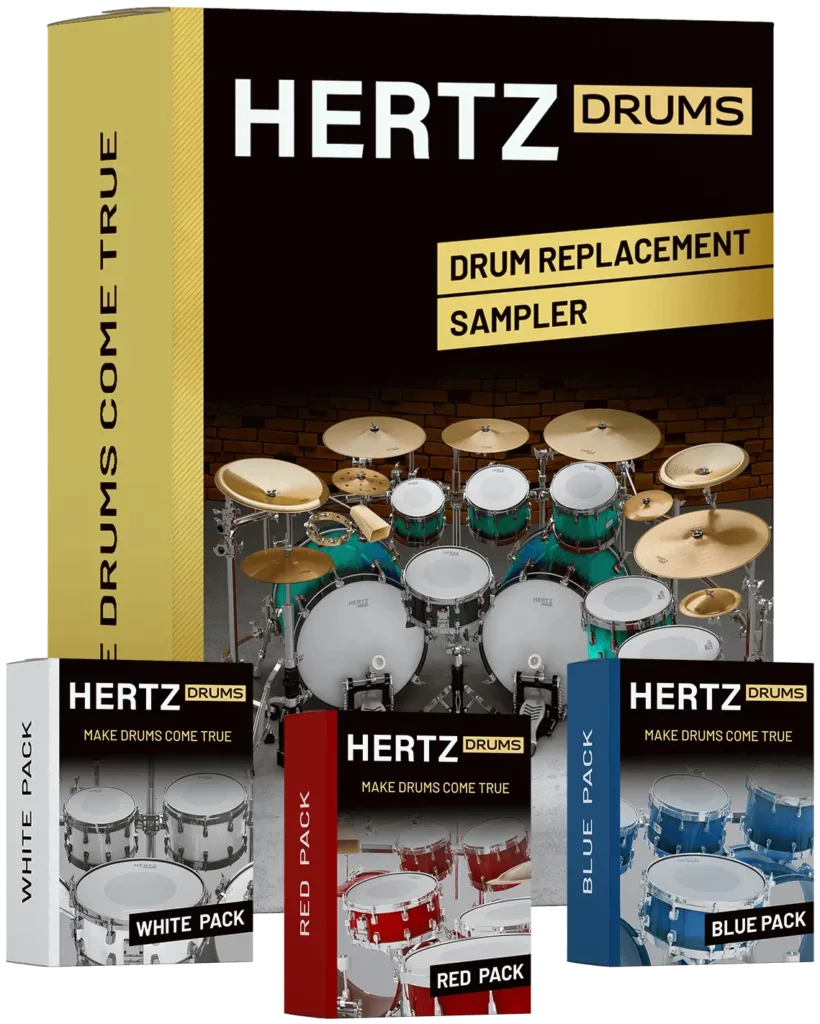
sample packs red blue white and now they
also have the metal unlimited pack this
is a brand new pack that they just
released but before we switch over to
metal unlimited let’s keep going with
what we have right now we’re in the
mixer view but I want to go in and
really fine tune individual elements yes
I could click on a drum change the
microphone and whatever I need to do
here but let’s go into the library and
sampler and now you can see that there’s
way more options right in here so right
now we’re adjusting the kick drums using
the Grid on bottom I can hover around
and it’s going to tell me different
elements about the drum in questions
right now I’m looking at my kick drum
and it says group selection kick this is
what we’re working with right now this
is the drum and the microphone that
we’re currently using on our Kick Drum
and we can see that the instrument is a
vintage 24 by 14. this is from the white
pack that’s available with Hertz drums
within the white pack you also have a
Master 22 by 18 inch a maple 24 by 14
inch a classic 24 by 18 and an absolute
22 by 18. these are all different shells
all captured meticulously with multiple
microphones so left to right different
shells vertically different microphones
on those shells so you can go with
classic 24×18
and that was mic a maybe you don’t like
that maybe you’d prefer an absolute 22
by 18 with Mike B
cool now I’m just regular left single
clicking on these different pads to get
a single one shot so I can hear and
Sample the drum if I want to commit to
it I just right click or if you’re on
Mac you can two finger click on a
trackpad but really you just need the
alternate click and now you’ll see that
this square of wherever you selected
illuminates so now this Kick Drum my
right kick is going to be my maple 24
with microphone B if I go back to the
left kick
you can see and here it’s a different
shell with a different microphone well
it’s the same microphone but it’s a
different shell so it’s going to sound
similar but obviously different and as
you purchase and load in more packs this
menu gets to be expansive it grows with
you so here are the five different shell
sets of the metal unlimited pack then we
have the white pack the red pack and the
blue pack three different microphones
five different sets of shells per pack
right now with what the guys over at
Hertz drums have done and they have
thankfully have sent over everything
thank you very much guys I have nearly
60 different options per drum of what I
can choose for my drum sounds I want
something further away maybe I want the
C microphone on something I want
something a little tighter a little
punchier you can click through and
really customize but of course it comes
loaded with a ton of presets you come up
to the top blue pack presets here’s five
individual presets red pack has the same
white pack and the metal unlimited has
way more they have the basic kits metal
kits and then snap kit something about
the snap kits is this is something you
would use to help bolster your Live
recorded acoustic drums because this is
real clicky it’s a real attacky it’s
just going to add some snap and some
presence to your drums and you can blend
them in to your Live recorded drums so
now you’re sample replacing or sample
augmenting your live drums with some
extra snap and I’m going to load one in
right now
[Music]
so you can hear there’s not a lot going
on there’s really not a lot of punch but
the snap kits are there to add that snap
and that attack the presence that you
want and then you can get the punch with
your Live recorded drums there’s way
more you can do within this instrument
as well it also has grooves that you
could pull in and you can sample them
just by clicking on any one of these
pads and when you find a Groove that you
like and I’m just going to kind of slide
over a little bit more so when you find
a Groove that you like let’s say this
one you come down to the bottom
selection here and here’s where you can
preview at either half your session
Tempo or double your session Tempo but
let’s say this is the perfect groove
just use the little Crosshair here and
you could drag it right into your
session locked to your Tempo and just
like with other drum instruments you can
do some audio routing you don’t have to
have everything coming out of just a
stereo left right maybe you want to
break it out and do some of your own
processing on the individual shells or
the symbols the rooms the everything you
can just kind of go into the routing and
change it to a different set of outputs
from your instrument maybe you have an
electric drum kit just like I do and you
want to use this or play the part
yourself click on the little midi button
here and make sure your mapping is
correct and they already have a bunch of
standardized mappings built right in so
if you go to e-drum presets maybe you
have a Roland kit maybe you just have
General midi or an Alesis set you can
pull in some of the mapping already and
there’s other ones as well perhaps you
have a different virtual drummer and you
like it’s mapping something like this
one that we’ve used in the past before
but you can just pull that in and the
mapping will all follow suit especially
with your e-kit or your pads or however
you want to put your drums in and
without going even further in because we
can really go much further in
changing velocities reversing samples
adjusting the attack and decay of all of
these things the blends of the direct
mics into the overheads the sub
frequencies the reverbs there’s really a
ton you can do especially on this right
hand side over here but instead of
getting into all of that we’re just
going to use presets for now and you’ve
seen how we can just jump into a preset
and change it to suit our needs let’s
take a listen to how this thing actually
sounds I have two different riffs that
I’ve worked on here using some of the
grooves inside of Hertz drums so the
first one is just a really heavy sludgy
kind of guitar riff honestly the guitars
are holding on one note and the bass is
just kind of walking up the scale and
then there’s a little bit of a pad to
kind of just add some width and some
textures that’s the first one and then
the second one is more kind of punk
Rocky but we’ll do each one of these
three times to go through just a couple
different presets so you can hear the
versatility of what they ship with these
packs and then like we said before
there’s tons of flexibility so that you
can customize it for your own
Productions here’s the first riff three
times over three different presets
[Music]
thank you
[Music]
[Music]
foreign
[Music]
okay like we said that was banging
through just a couple of the different
presets now let’s say basic kit 4 this
is exactly what you need but you just
want it slightly different I’m going to
hold down shift and I’m going to come
over to my mic selection and it really
doesn’t matter which drum you’re using
and holding shift and clicking on any
one of these will shift the entire drum
kit to that microphone selection so now
same basic kit for instead of microphone
selection B we’re now using microphone
selection a
oh
[Music]
so there it is that’s Hertz drums once
again they sent this over for this
review and everything you heard was my
own opinion I want to thank the guys
over at Hertz Studios where all of this
was captured and you could definitely
check them out and I’ll put a link to
their website down below also if you
want to pick up your own copy of Hertz
drums use the link down in the
description there’s a 14 day free trial
so you can go ahead and go try it out
for two weeks get some Productions done
and if you do enjoy how Hertz drums
sounds and works it is pretty affordable
for the amount of flexibility that you
have in here it normally goes for 229
Euros or that’s 244 US Dollars there’s a
little bit of conversion going on and
that price might fluctuate a little bit
but about 250 dollars gets you a ton of
flexibility within one drum VST
instrument that’s all for now if you
found anything informative please like
and share the video if you want to talk
drum sound maybe some plugins or have
your mix reviewed by a bunch of peers
jump into the Discord there’s going to
be a link down in the description if you
want to work with me mixing your next
release I want to work with you let’s
get that process started over at
timplanbomb.com and if you have a
question ask it in the comments and I’ll
answer it in a future video thanks for
watching
Subscribe to our newsletter to stay updated with the latest news from Hertz Instruments and enjoy a 10% discount on all products!